
Blog
How to turn one long video into a week of short clips
Follow five editing steps, a clip-selection checklist and a seven-day posting map to turn a long recording into distinct, self-contained short videos.
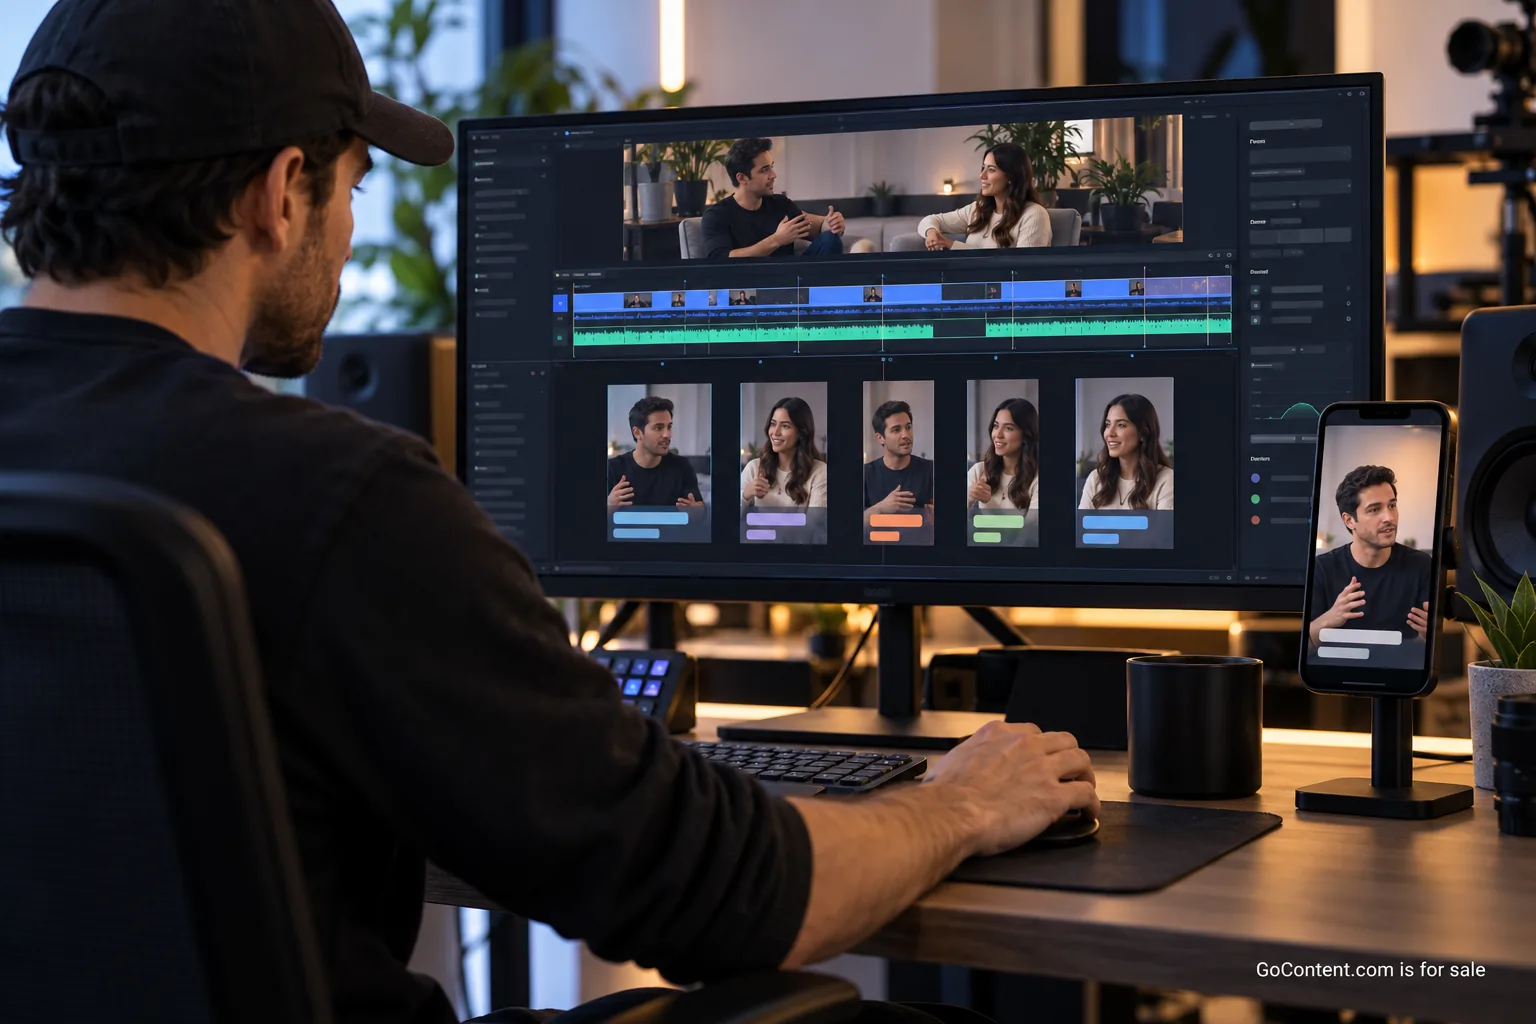
A long recording can contain several useful short videos, but a timestamp alone does not make a clip. Each selected moment needs a clear question, enough context to understand the answer and an ending that completes the thought. Plan those editorial decisions before spending time on captions or export settings.
Choose one recording and define the intended audience for the clips. A webinar aimed at existing customers may contain material for prospective buyers, but those viewers will need more explanation. Write down what they already know and what each short video should help them do.
Step 1: Create and check the transcript
Generate a timestamped transcript, then compare it with the recording. Correct names, specialist terms and numbers before using it to select moments. Mark sections where audio is unclear or the speaker points to something visible on screen. A transcript can make a passage look complete even when the meaning depends on a demonstration.
Add a simple topic label to each section. Use labels that describe the viewer's question, such as “choosing the first topic” or “handling conflicting feedback.” This makes it easier to see repeated answers and decide which version is strongest.
Keep the original recording untouched and work from a duplicate project. Record the source filename and timecodes in a clip log. If the speaker later corrects a statement, that log helps you find every proposed clip that uses it.
Step 2: Select moments that stand alone
Read for a complete thought, then watch it in context. A good candidate might explain a mistake, demonstrate a small task or answer a question directly. Cut surrounding housekeeping, but retain any qualification that changes the meaning. An answer that starts with “only in this case” needs the case explained.
Write a one-sentence description of what the viewer learns. If that sentence needs several unrelated clauses, the candidate may contain more than one clip. If it only says “interesting discussion,” the proposed takeaway is probably too vague.
Clip-selection checklist
- Can a new viewer identify the question without watching the full recording?
- Does the opening get to that question promptly?
- Is there a specific answer, demonstration or example?
- Have necessary conditions and qualifications been retained?
- Does the ending complete the thought rather than trail into another topic?
- Are the audio and picture usable throughout the selected passage?
- Can referenced visuals be shown clearly in the intended frame?
- Are permissions for the speaker, footage and other included material understood?
- Does this candidate teach something different from the other selected clips?
Reject or revise candidates that fail a required check. Sometimes the solution is to start several seconds earlier. Sometimes a short introductory title supplies context. If a clip needs an extensive explanation to become accurate, leave it for the full recording.
Step 3: Reframe for the intended destination
Create a vertical working version when that suits the destination, and inspect the entire clip after reframing. A centered crop may work for a single speaker while cutting off a second person or a demonstration. Use deliberate changes of framing where needed rather than allowing the crop to follow every small movement.
For a screen demonstration, consider alternating between the speaker and a readable detail view. If essential text becomes too small, rebuild the explanation with a permitted still or a closer crop. Watch on a phone-sized preview before approving the edit.
Check the destination's requirements before exporting. YouTube's three-minute Shorts guidance says square or vertical videos up to three minutes are categorized as Shorts for uploads on or after October 15, 2024. Its upload instructions also note that reused copyrighted material can trigger Content ID claims. A technically suitable file still needs the appropriate permissions.
Do not assume the same export will fit every other destination. Keep a clean master and a separate export record for each planned channel. Check its current upload requirements and preview controls when preparing that version, especially if it includes fine text or important detail near an edge.
Step 4: Edit captions for meaning
Use automatic transcription as a starting point and review every caption against the audio. Correct punctuation where it changes the meaning. Break captions into readable phrases rather than leaving a single word stranded on a new line. Check that captions remain visible against both light and dark parts of the footage.
The W3C guidance on prerecorded captions explains that captions include dialogue, speaker identification and meaningful non-speech sounds. It also says captions should not obscure relevant visual information. Apply that to the edit: move captions away from a demonstration and identify a speaker when the voice alone would be unclear.
Watch once with sound off to check comprehension, then again with sound on to check synchronization. Neither review replaces the other. A silent review can reveal an unexplained visual reference; a listening review can catch a missing “not” that reverses the speaker's point.
Step 5: Schedule a sequence with a purpose
Assign each clip a role in the week's sequence. Start with an accessible question, then move into demonstrations or more specific decisions. Write accompanying copy that identifies the topic and adds useful context. Avoid repeating the entire caption transcript in the post text.
The following seven-day map is a hypothetical editorial plan for a recording about preparing an expert interview. It is a scheduling example, not a claim about an optimal posting frequency or expected engagement. Adjust the pace to the amount of strong material available.
A seven-day posting map
- Monday: Frame the problem. Post a clip explaining why broad interview questions produce difficult-to-edit answers. Use the post text to identify who the advice is for.
- Tuesday: Show the preparation. Publish a distinct clip about choosing one audience question before the recording. Include a short prompt the viewer can copy.
- Wednesday: Demonstrate the technique. Use a moment where the speaker turns a broad question into a specific one. Keep both versions in the edit so the comparison is understandable.
- Thursday: Explain a follow-up. Select a clip showing how to ask for an example after an abstract answer. Preserve the answer that makes the follow-up necessary.
- Friday: Address a limitation. Share a passage about what to do when an expert cannot discuss a customer detail publicly. Keep the speaker's conditions attached to the advice.
- Saturday: Give a review task. Publish a clip about checking the recording for unanswered questions. Ask the viewer to try the check on a recording they already have.
- Sunday: Connect the sequence. Use a short closing clip that explains the next preparation step, and point interested viewers to the full recording for context.
If the source contains only four strong moments, publish four clips and use the remaining days for another format or a pause. Recutting the same answer into near-duplicates can make the schedule look complete while adding little for a returning viewer.
Make the next batch easier
Before scheduling, check the exported files themselves. Confirm the first and last frames, audio level, captions, destination version and accompanying links. Keep a record of who approved each file so later changes do not overwrite an agreed version unnoticed.
After publication, record useful observations: which questions viewers ask, where an explanation needs more context and which production problems took extra editing. Use those notes to improve the next recording's questions and framing. Apply the five-step workflow to the next long recording, starting with the transcript and a clear selection standard.